When you are baking, accurately measuring baking ingredients is essential. In fact, it may be the most important part. Learning how to measure your ingredients can mean the difference in success or failure, yummy cake or brick.
Baking really is a science. The good news is that once you learn how the skill will last a lifetime!
In this guide I will walk you through:
- Using measuring spoons
- How to tell the difference in dry and liquid measuring cups
- How to use dry measuring cups, liquid measuring cups, and a kitchen scale for measuring your baking ingredients
- The pros and cons of each measuring device
I get commissions for purchases made through links in this post.
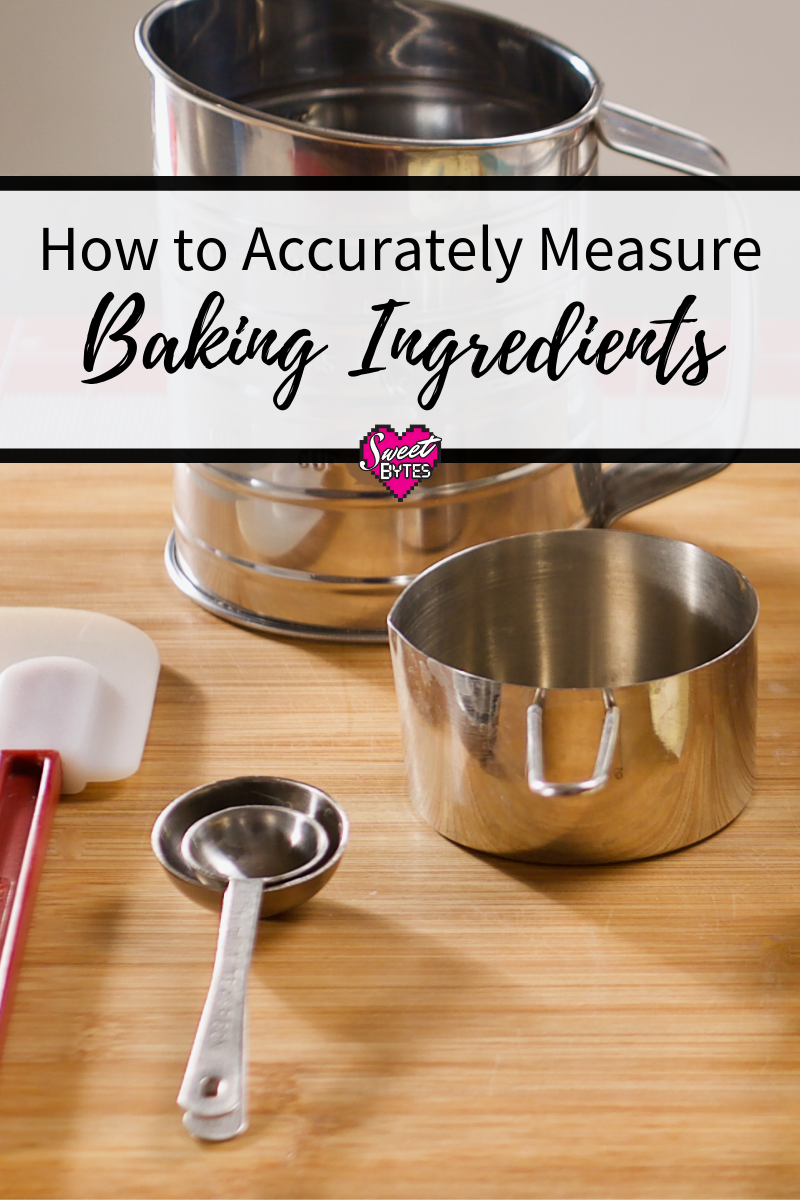
All about the measuring spoons:
Measuring spoons are used for small amounts of ingredients. They are usually plastic or metal and come in sets with a variety of sizes. A good set will have 1 Tablespoon, 1 teaspoon, 1/2 teaspoon, 1/4 teaspoon, and 1/8 teaspoon.
You should try your best to fill them completely and then level off the top with the back edge of a knife or other flat-edged utensil. They are used for both dry and liquid ingredients, but sometimes their accuracy is less than perfect. Especially in brands made with loose manufacturing requirements or no standards for measurements.
For best results get a trusted brand like one of these:
What’s the difference in a dry measuring cup and a liquid measuring cup?
Dry measuring cups are level on top. They are usually plastic or metal with a handle to help use them as a scoop. Typical sizes 1 cup, 1/2 cup, 1/3 cup, and 1/4 cup, and they are sold in sets.
They are best suited for solid or dry ingredients like shortening, brown sugar, flour, etc. The top is level so that you can use scrape off any ingredients taller than the edge of the cup.
Liquid measuring cups have marks on the side and are usually clear plastic or glass. They have a handle and spout to make pouring easy. Typically, they are sold individually and come in various sizes, even industrial sized for very large amounts. These are best for liquid ingredients like water, oil, etc.
The best way to use a dry measuring cup:
I like to aerate the ingredient by stirring it up a bit and then using a large spoon to fill my measuring cup. Don’t tap or pack down the ingredient unless it’s called for in the recipe. Then, fill the cup up over the top edge and use the flat edge of a knife to level the top of the cup. This is called the spoon and sweep method.
Another way is called the scoop and sweep. You’ll still aerate the ingredient a little and then use the actual measuring cup to scoop the ingredient from the container. Still don’t pack or tap it down, unless the recipe says, and use the flat edge of a knife to level off the top of the cup.
The best way to use a liquid measuring cup:
Place the liquid measuring cup on a flat surface like your counter. Pour the liquid directly into the cup. Get on eye level with the measuring cup and only fill it to the appropriate line. It’s best to pour slowly, but spout makes it easy to return excess ingredients.
What are the pros and cons of using measuring cups and spoons to measure baking ingredients?
The pros and cons of both types of cups and measuring spoons are the same.
Pros: Easy access, inexpensive, and most people already have them in their kitchen. A lot of recipes are written using cups and spoon as the basis for measuring.
Cons: It’s difficult to be accurate with them. Even using them properly they usually vary by at least 10% and sometimes as much as 25%. That could be way too much or way too little of an ingredient and change the whole recipe!
So, what’s the BEST, BEST way to measure baking ingredients?
If you really want to be right every time. A small kitchen scale is the best way to go. You can always know exactly how much of each ingredient you have added and it won’t matter if you leveled the cup right or sifted the flour before or after measuring. The weight is universal.
If you get a scale you will also be able to make those amazing professional recipes without having to Google conversions or beg the recipe writer for answers. Scales are #1!
This is the scale that I own and love! I’ve used it for years with no problems:
Also, if you want to cut a recipe in half or double a recipe, a scale makes it very simple. For instance, 12.5 oz of flour but you only need 1/3? Just divide by 3 on a handy-dandy calculator! Need to do the same with 2 1/2 cups of flour? Hmmm… doable, but NOT as easy.
Another great thing about scales is they convert the units for you. With the push of a button and you can switch from grams to ounces and never miss a beat.
So keep your measuring cups and spoons, but definitely add a scale to your kitchen equipment. They last a very long time, so don’t be afraid to spend a few dollars for a good one. I promise you will use the heck out of it.
More measuring resources:
Cooks Illustrated: Dry Vs. Liquid Measuring Cups