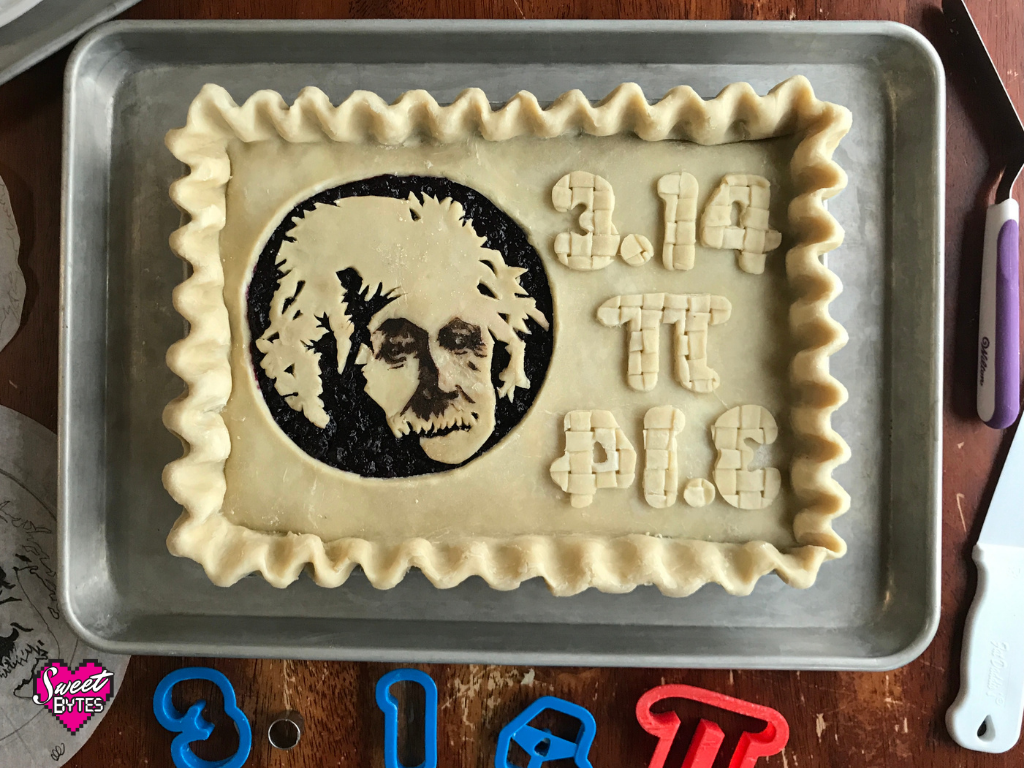
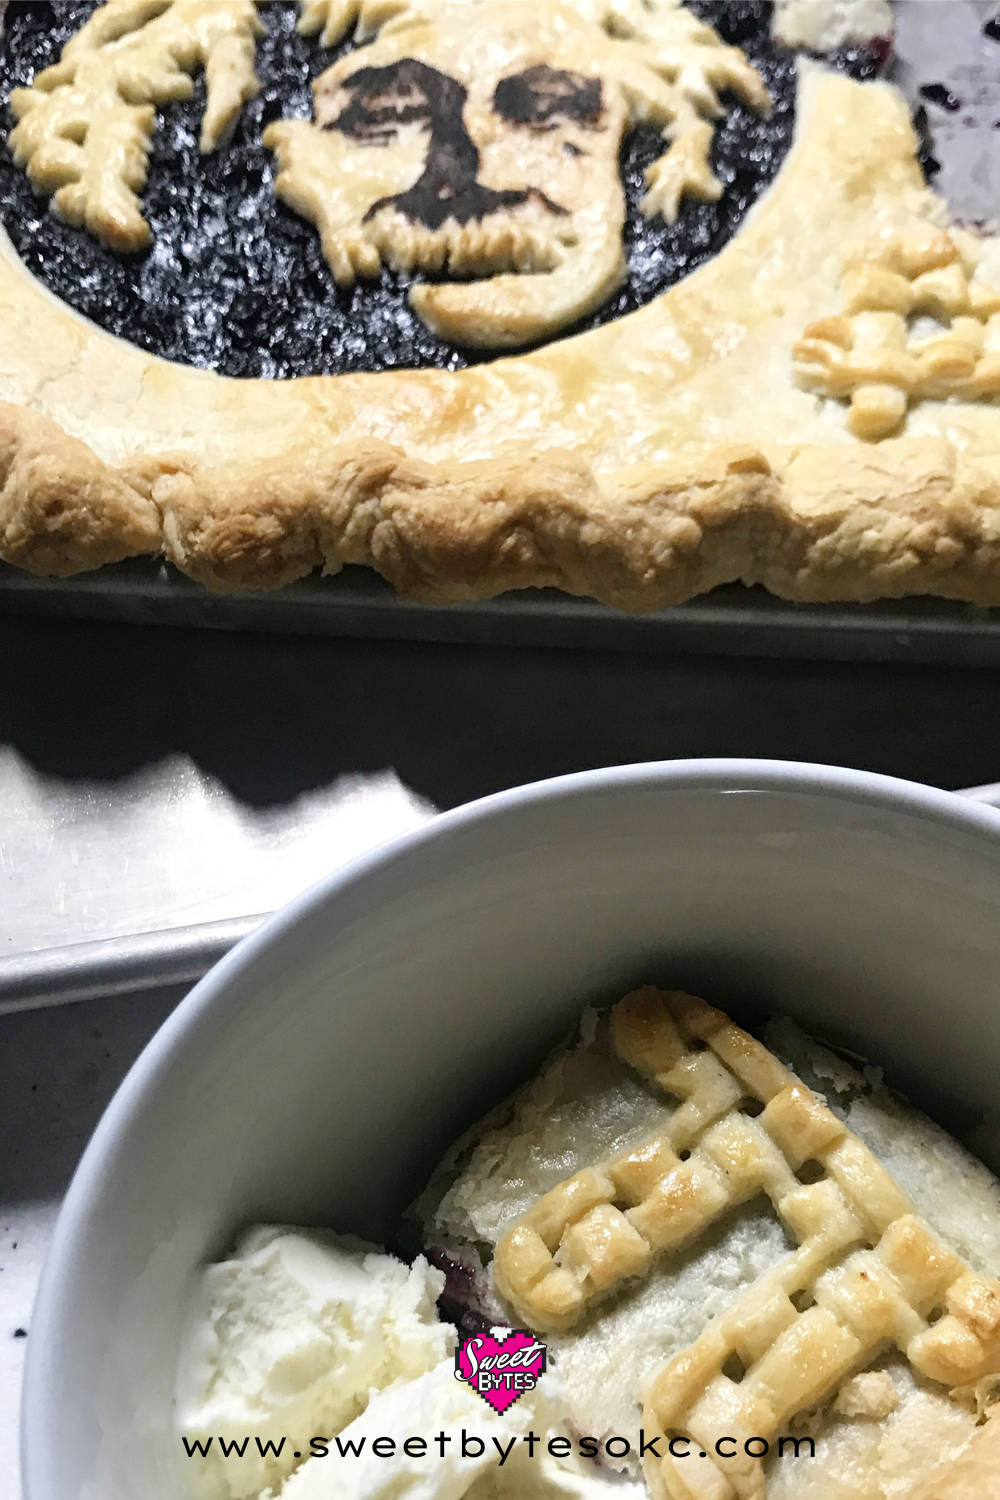
I made an Einstein Pi Day Pie celebrating the birth of Albert Einstein and Pi Day! In this post, I will show you just how I created it and all of the tools I used while making it. It was really a big experiment, but I think it turned out OK and it was delicious!
This post contains affiliate links, I earn from purchases made from links in this post
To see my favorite pie art tools, you can check out My Amazon Storefront!
Celebrating Pi Day with Pie
Every Pi Day since 2013 our family has made a big deal about March 14th. In fact, that is how Sweet Bytes got started, a fateful invitation to a party. I gave away pie and the rest is history. You can read more about that part in my article about Pi Day.
Needless to say, every year I make something special for the holiday and post the results on social media. It’s fun to see what all of the pie artists and food artists come up with. I enjoy getting inspired by that online community very much.
This year I decided to make an Einstein Pi Day pie!
Why Make an Einstein Pi Day Pie
Albert Einstein was born on March 14, 1879. In fact, despite his humble beginnings, he became one of the world’s most renowned physicists. He even won a Nobel Prize in 1921! Mostly we know him for E = mc2 but he has such an interesting and full life.
Surprisingly, I read the entire article about him on Wikipedia because I just got so interested in his life while researching making this pie! You can read it here.
Designing the Einstein Pie Day Pie
Before I could start, I had to figure out what angle to take with the design. I first started researching the field of physics its symbols, but then lost interest in those.
Being up for a challenge, I decided to try a pie portrait, or pie-trait, if you will. I looked around the internet for free images and copyright-free images and then altered my image digitally to have extreme contrast.
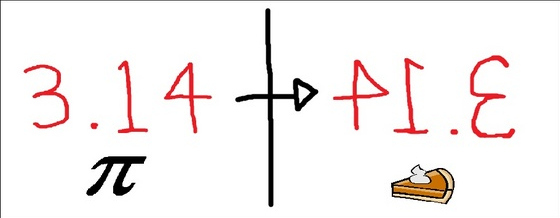
Then, I considered all of the other things that could be in the pie crust design and went with the 3.14 backward is PI.E. I have always found that uncanny and fun. I think Einstein would enjoy that too, seeing how he studied theoretical physics.
The next step was to sketch it all out. Originally, I had been set on a round pie because the whole holiday is intended to celebrate circumference, after all. I just couldn’t get it to work out visually, so I went with a slab pie. (A slab pie is a pie made on a baking sheet and is typically thinner than a traditional pie.)
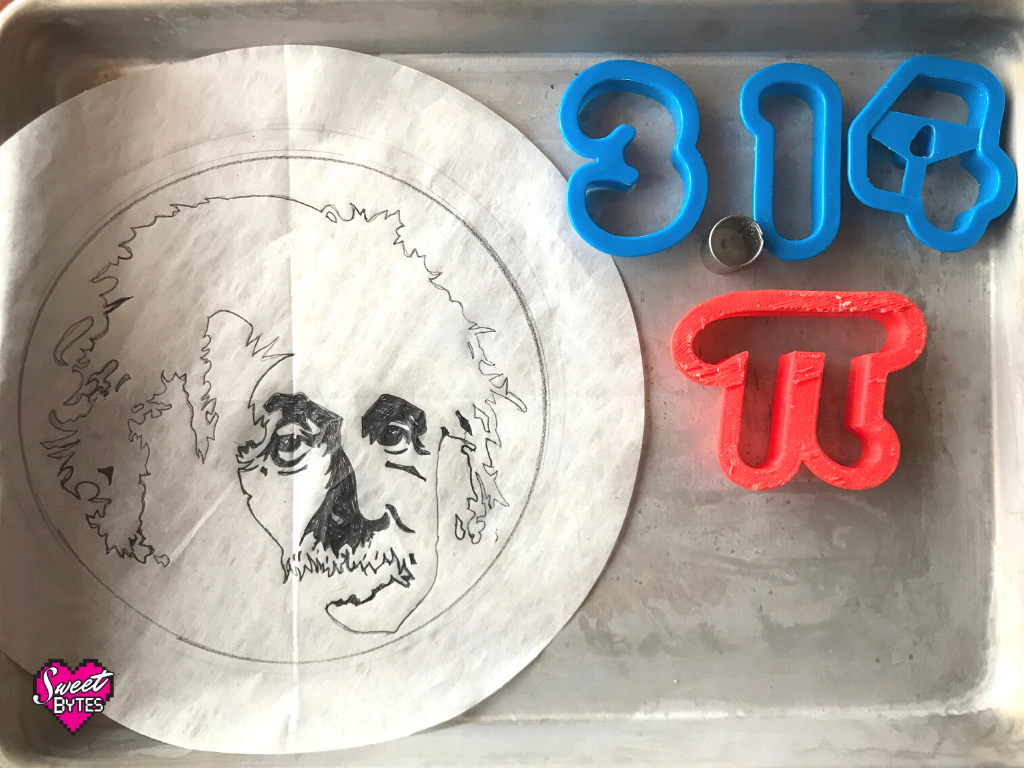
Here’s a link to the cookie-cutter set, the parchment circles that I use for sketching pies/ lining cake pans, and a quarter sheet baking pan that is the perfect size for turning a regular 9″ pie recipe into a slab pie:
Numbers and Letters Wilton Set (affiliate links)
However, a friend 3D printed the pi cutter for me, so I can’t give you a link to the exact one. There are plenty of really cute ones online. If you order one, pay attention to the size listed so you aren’t surprised when it arrives.
Making the Einstein Part of the Pie
To make the pie, I began with the dough. I knew I would need a lot more than a regular 9″ pie. It turns out that I needed a double batch to make the top and bottom crust plus the cut-out decorations.
A store-bought crust would have worked, but I am pretty loyal to my favorite pie dough recipe. I use it for almost every pie I make, it’s so good! (Here’s a link to The Best Pie Crust Recipe )
Next, I rolled out a 10 oz portion and used a cake round as a stencil to cut a perfect circle. (Cake rounds are the cardboard circles that go under cake layers for stacking or to keep the layers stable while decorating!) Amazon link to 9″ grease proof cake rounds
You can get them from the cake decorating section in a craft store, like Michael’s, or you can order them online. I really like the bulk prices from Southern Champion Tray through Amazon.
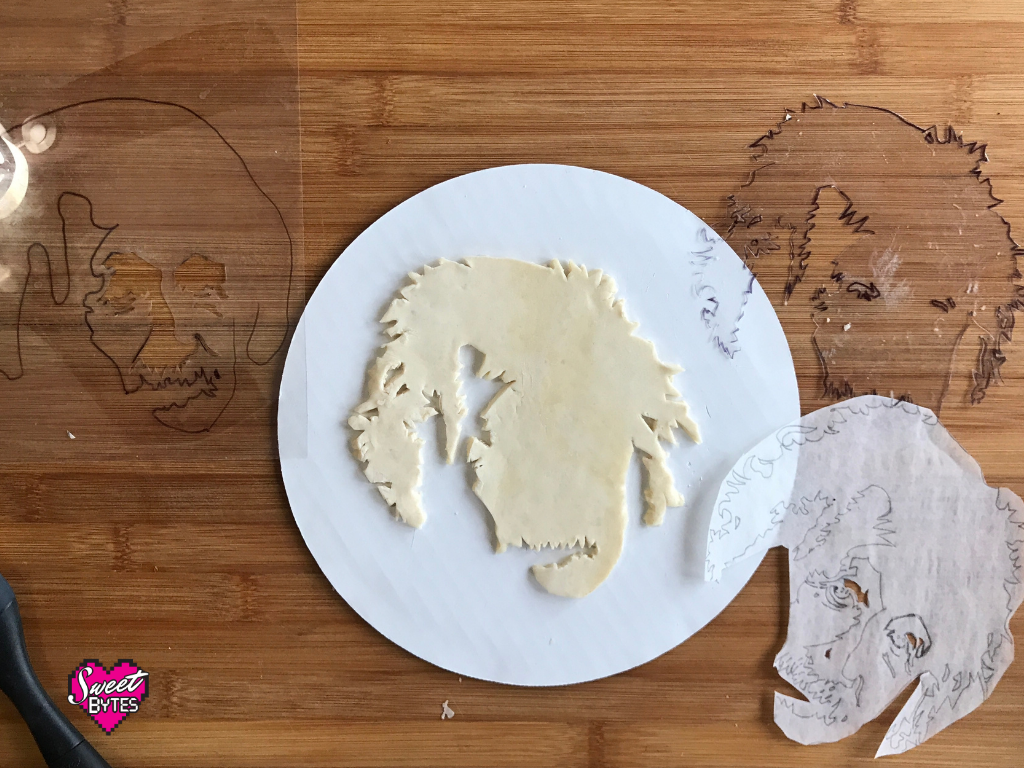
After that, I cut out the stencil that I made on a sheet of acetate of my original drawing.
I think if I were going to do it again, I would have just used more parchment paper for the stencil. The acetate ended up being hard for me to see and added a lot of time to my project.
For Einstein’s facial details, I tried to use cinnamon to stencil through the acetate cutout, however, I wasn’t completely happy with the result. I ended up trying to add some brown food coloring, which wasn’t such a great idea either.
In truth, I thought the cinnamon would work a lot better than it did. I watched some tutorials from other pie artists:
Like so many things on the internet, it looked easier than it was! I had a really hard time getting the cinnamon to a) be dark enough and b) stay in the right place. I guess I need practice!
Making the lattice numbers and pi symbol
To make the lattice woven cutouts, I cut some very thin strips of pie dough and wove them into a long strip of crust, approximately 6″ wide x 14″ long. I used my number cutters to cut out 3.14 two times and the pi symbol.
One great trick I learned was to keep the dough inside of the cutter after cutting the shape and freeze them so they wouldn’t fall apart as I set them in place on the pie crust.
Sorry, I was so focused on creating the lattice weaving that I didn’t take any pictures!
I will say that using my Ateco pastry cutter made the strips very even. I kept it closed to the smallest setting to cut very thin strips of pie crust.
Finished Pi Day Pie Design
For the pie filling, I made a blueberry pie filling for a 9″ pie and it filled the half sheet slab pie perfectly.
For the crust finish, I brushed heavy cream over the entire surface of the pie and all of the details except for the stenciled face.
The pie baked at 375°F in my convection oven for about 45 minutes, until the filling was bubbling and the crust was browned.

Eating Pi Day Pi!
The best part of being a pie artist and baker is and always will be eating the art! It was extremely delicious if I do say so myself. The crust to pie ratio in a slab pie is so good if you have a great crust!
We ate our à la mode with Ben and Jerry’s Vanilla Ice Cream. It really was a great treat!
Questions or comments?
Thanks for coming along on this Pi Day Pie adventure with me! Let me know if you’d like to me make something or if you have any questions. I’d love to hear from you and see your pi day pies!
